
I’ve been a huge fan of VMware’s Fusion product ever since it was released. Many of us Mac users will occasionally need to sneak into Windows every now and then and Fusion makes it very easy. When I first installed XP as a virtual machine I allocated eight gigabytes of disk space for the the VM thinking it would be more than enough for my needs. Over time I installed more and more software on it as I discovered just how fast and stable running XP as a VM really was. Fortunately with the latest release, resizing a virtual machine’s disk size is very easy. There are two basic steps involved. One is to resize the disk from within Fusion and the second is to resize the partition from within Windows. There are many ways to do the second step. I’ll illustrate the method that I used and worked for me.
To resize the virtual machine simply bring up Fusion, select your VM in the left pane and click on Settings at the bottom of the right pane. In the Settings dialog window that pops up click on Hard Disks under Removable Devices. You should see a window similar to the one below:
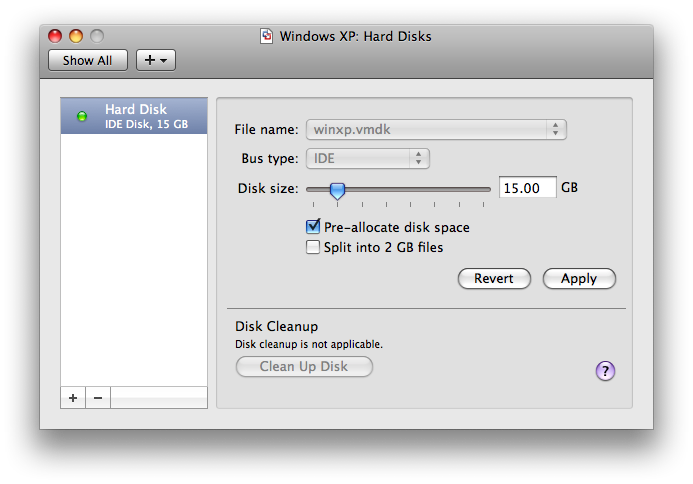
Simply drag the Disk size slider to increase the size to whatever you’d like it to be (I prefer not to split the VM disks file into 2GB chunks, hence the cleared checkbox for that option). I’m going from an 8 to 15 GB disk size. Hit Apply and Fusion will proceed to resize and reconfigure the virtual machine. For me it was a two pass process that took about 20 to 25 minutes total. Once it finished resizing you can simply boot into your VM.
Once you’re in Windows you’ll notice that your disk size it still at the original smaller size. This is because Windows sees the extra space Fusion allocated as free space outside of your existing working partition. You could simply partition this space into a separate drive but I wanted to tack the new space onto my existing C: drive to make one larger drive. The simplest way I found to do this was to resize the partition from within Windows using a disk partition tool. I used EASEUS Partition Manager Home Edition which is a free product for home users and works great for what we need to accomplish here.
From within your Windows VM, download and install the software and fire it up. In the main window you should see a horizontal bar representing your system drive. Hit the Resize/Move icon in the toolbar and you should see a window like this:
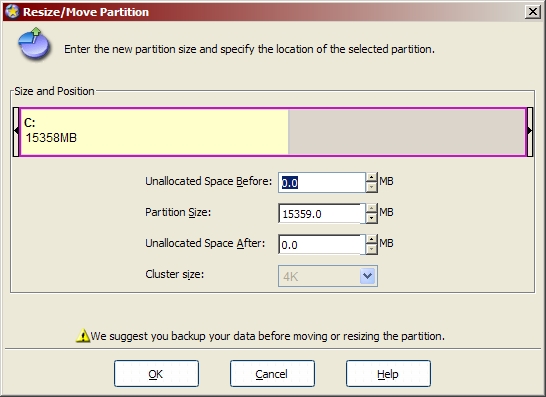
Drag the slider to increase the partition size to it’s maximum and hit OK to continue. Follow the prompts (Backup if you need to!) and wait a few minutes while the VM reboots and Partition Manager resizes the partition. Once it finishes it will automatically boot back into Windows. In my case once I logged in, Windows informed me that there was a hardware change and suggested I should reboot for good measure which I did. You may or may not get this message. Regardless, your disk should now reflect the larger size and you should have plenty of extra free space! Fairly easy to do and a tad bit time consuming but well worth it in the end.
Latest Entries
- Touch Bar Epiphany
- The only iOS 10 review that matters
- Machine Learning and AI at Apple
- Dear Tim Cook
- Sloth shows open files in use
- The Most Important Apple Executive You’ve Never Heard Of
- Updated Lightning to SD Card Camera Reader
- iPhone 6s Smart Battery
- The Grand Unified Theory of Apple Products
- Sketch bids farewell
No Comments
Leave a Comment
trackback address